Sitting in a Tree with Treesitter

Treesitter...the name is awesome, but what does it do?
Let's talk about what it gives us and then we'll learn on the how it makes it happen.
When looking at code, highlighting can make all the difference in understanding it easily. Variables can be color-coded to make them obvious. Method calls vs definitions can be highlighted with different colors. Treesitter makes code folding possible so you can hide blocks of code.
It is a powerful way to be a more efficient developer.
But how does it do that?
Treesitter takes code and generates an Abstract Syntax Tree (AST). This tree helps tools understand the structure of the code.
An Abstract Syntax Tree (AST) is like a blueprint or a map of your code. It breaks down your code into a tree structure where each piece of your code (like variables, functions, loops, etc.) is a node in this tree. Just like how a map abstractly represents a city to help you navigate, an AST represents your code to help various tools understand and manipulate it.
So How Does That Help with Syntax Highlighting ?
Treesitter colors different parts of your code differently. For example, strings might be in red, keywords like if or for in blue, and comments in green. This isn't just to make it look pretty; it helps you quickly understand the structure of your code, identify errors, and differentiate between various elements like commands and comments.
The AST (our map) is crucial here because it helps the editor understand what each piece of your code is. The editor reads your code, generates an AST, and then uses this AST to apply colors correctly. It knows what is a string, what is a comment, and what is a keyword because the AST categorizes every part of your code.
Now let's set it up!
We can take a look at the installation Wiki and find the lazy section.
{"nvim-treesitter/nvim-treesitter", build= ":TSUpdate"} Well, this looks a little different. What's the build argument? Here, we tell it to run the command :TSUpdate which will update treesitter itself. Awesome.
Let's close Neovim (:q) and reopen it. We should see nvim-treesitter get installed.
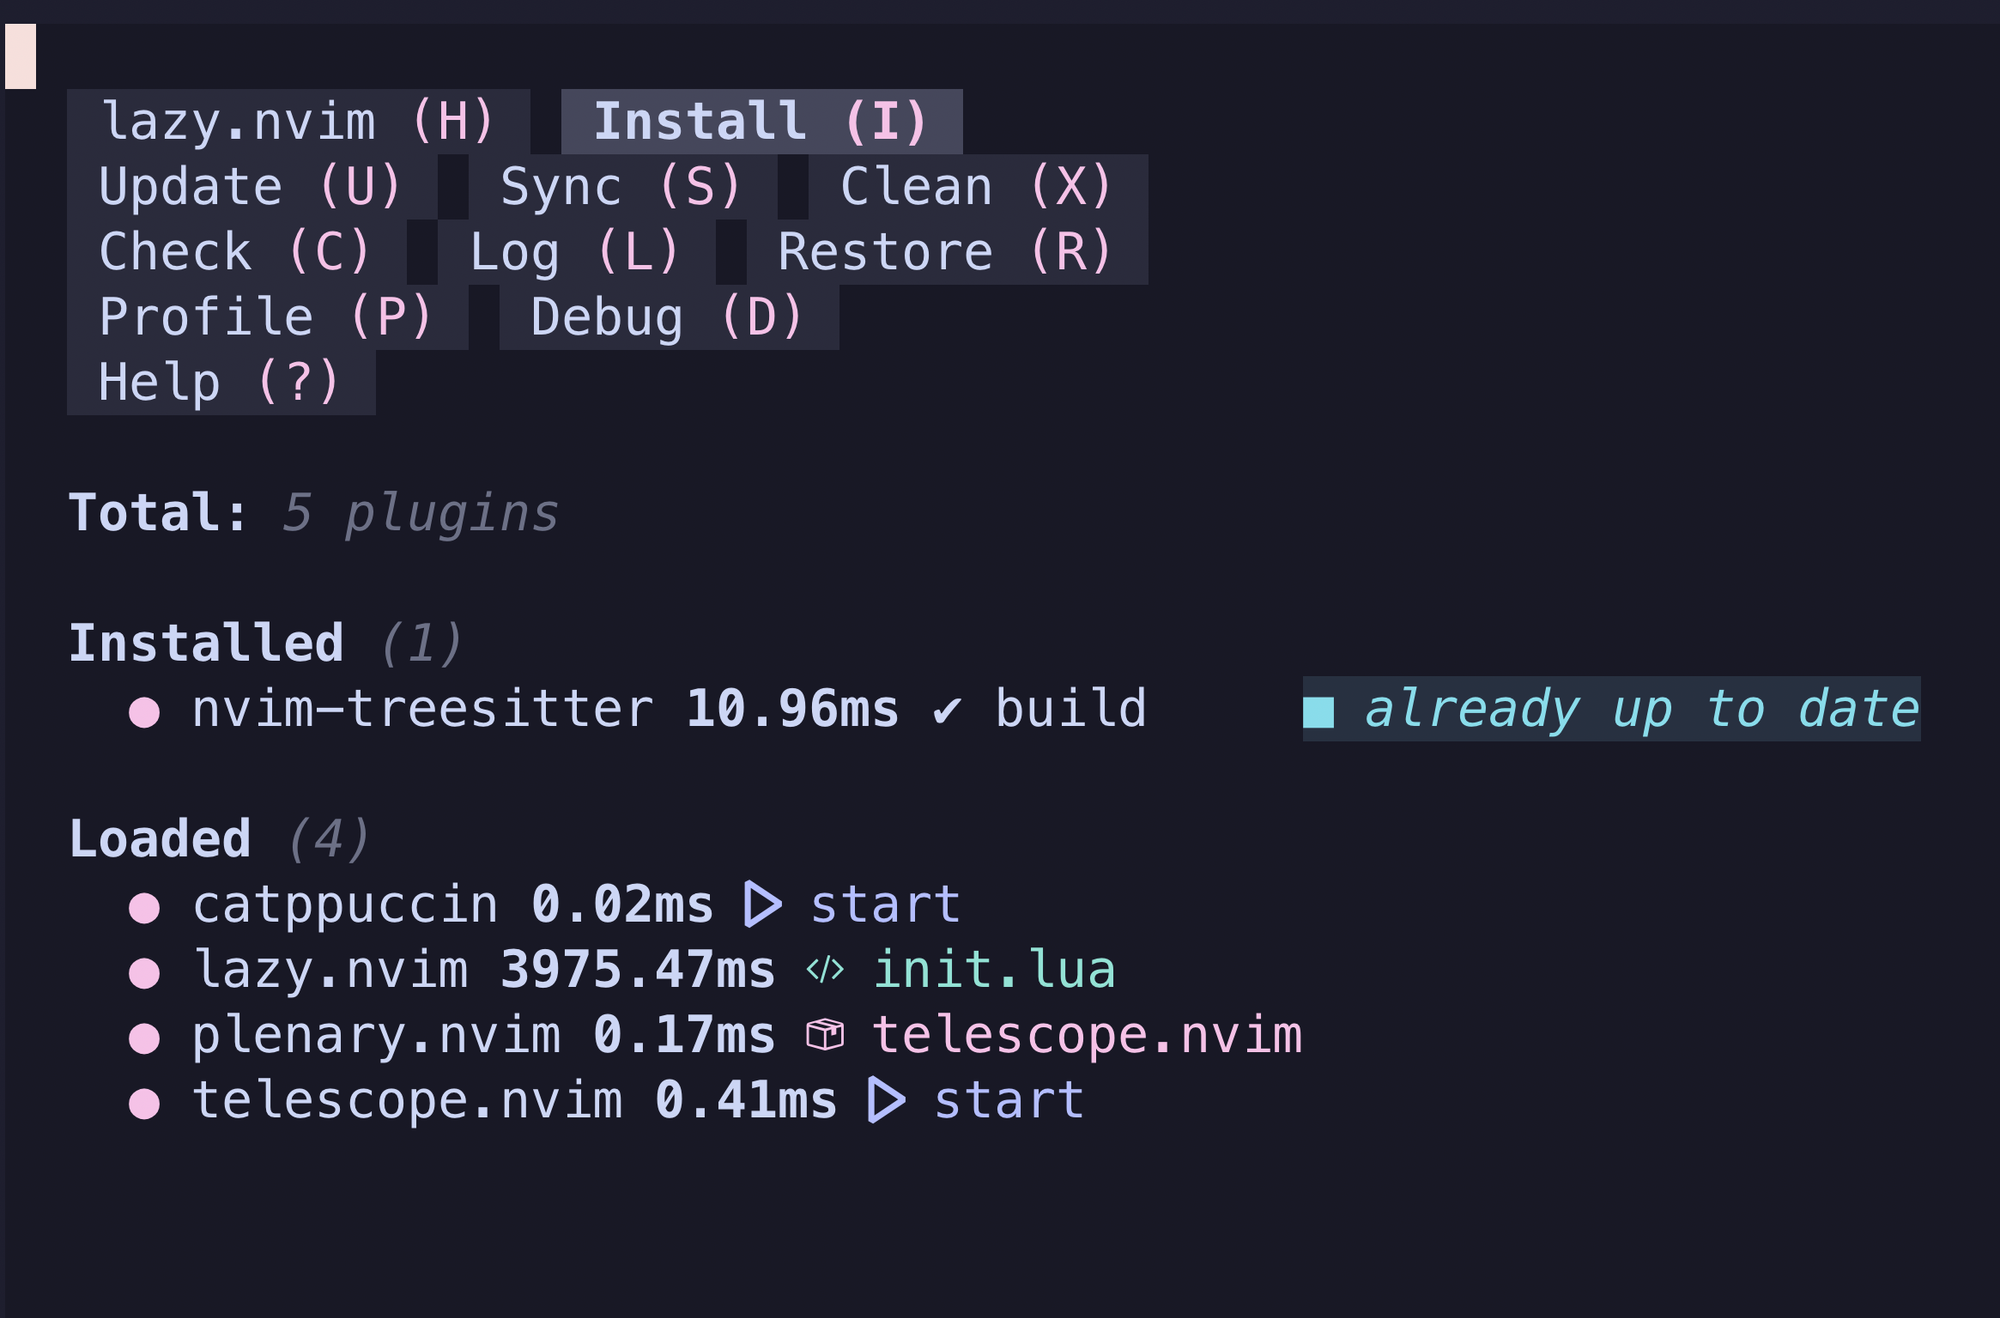
Notice the build step is performed.
But wait, we haven't configured it yet. Let's start adding some configs.
local config = require("nvim-treesitter.configs")
config.setup({
  ensure_installed = {"lua", "javascript"},
  highlight = { enable = true },
  indent = { enable = true }
})
So just like with Telescope, we set a local variable config to the module nvim-treesitter.configs. This config module exposes the setup method which takes different options.
ensure_installed - Ensures that the parsers for lua and javascript are installed.
highlight - takes a Lua table to configure highlighting. We're setting enable to true.
indent = takes a Lua table. The only option is enable true or false. NOTE: this is currently (as of April 2024) an experimental feature.
With this configuration added, you can close Neovim and reopen it.
NOTE: you may see an error the first time loading it if you open init.lua. Treesitter will complain because it is trying to apply the Lua language parser, but it hasn't been installed yet. If you see this, just close Neovim and reopen it.
Congrats — you've got Treesitter installed!